How to Wrap a Rectangular Gift Box Neatly Without Wasting a Large Sheet
Neat wrapping comes from fitting the paper to the box, not from adding more tape. This guide uses an ordinary rectangular box and plain paper. Practice on a reusable empty box first if you want to learn the folds without risking the gift.
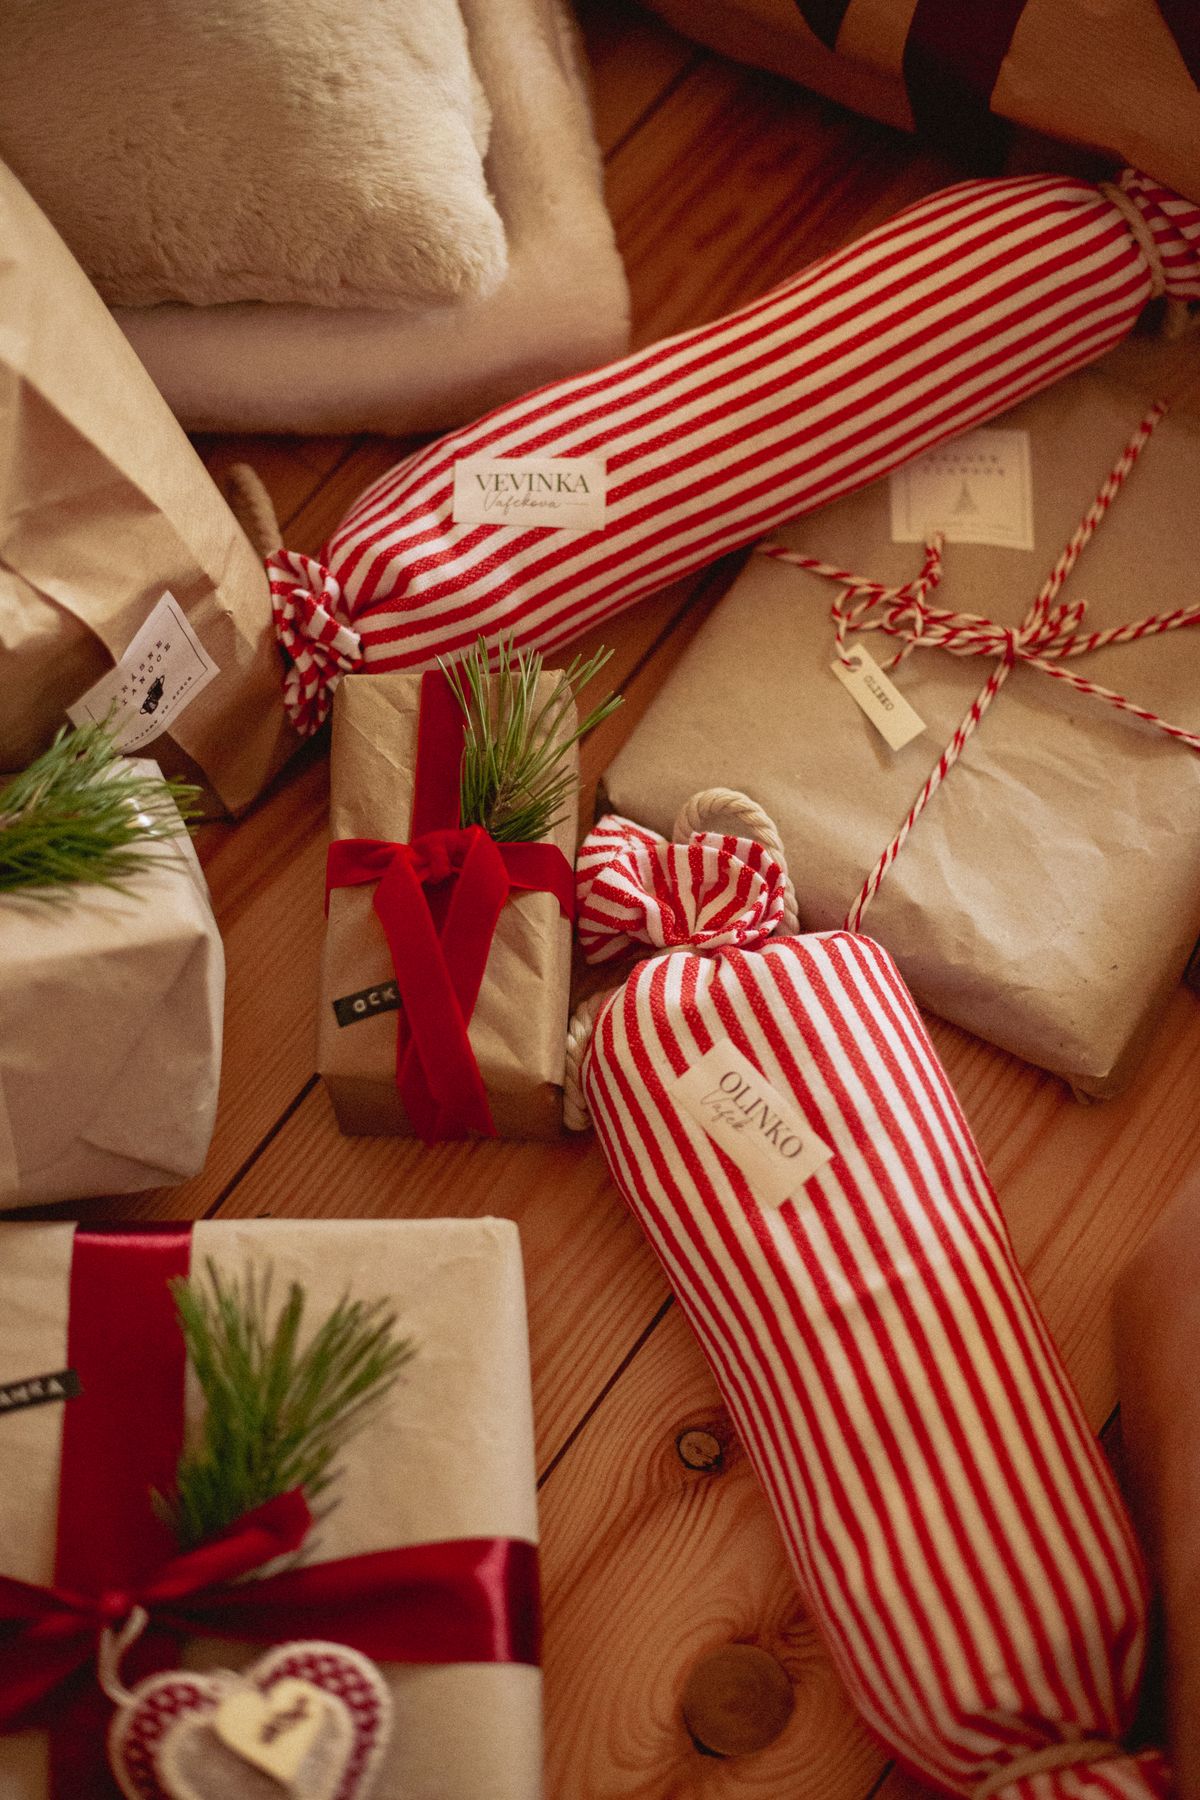
Photo: Pexels · License. Illustrative stock photography; pictured people, products and settings are not claimed to demonstrate this exact guide or endorse this publication.
Start with the actual decision
Check that the gift is already protected inside a suitable box. Decorative wrapping does not cushion a fragile object or make a weak box suitable for transport. Remove price labels where appropriate without obscuring care information or return details needed later. Decide whether the recipient would benefit from an easy-open tab rather than tightly taped layers. Keep scissors and other sharp tools used for preparation away from children.
Prepare the working information
Gather paper, ruler if useful, scissors, tape and a tag. Use a clean flat surface larger than the box. Identify the paper's right side and any pattern direction. Plan the main seam on the underside and the end folds where they can lie flat. If the paper has a repeating design, decide whether matching it matters before cutting; a simple plain sheet is easier for a first attempt.
A worked example you can adapt
Wrap the uncut paper around the box's long perimeter to find the required width, allowing a modest overlap for the seam. For the end length, test the actual depth: the paper must reach across the end without forming several bulky layers. These are fit tests, not a universal formula for every box. Mark or lightly crease the intended cut before using scissors. If the paper is too short, choose another sheet rather than hiding a gap under many strips of tape.
Follow the sequence in order
Place the box face down on the reverse of the paper. Bring one long edge over and hold it in place, then fold a clean narrow edge on the overlapping side before closing the seam. At one end, press the side paper inward to form two triangular flaps. Fold the lower flap toward the box and bring the upper flap down with a neat finished edge, adjusting for the box shape. Repeat at the other end and secure only the points that need it.
Choose between the realistic options
Use less end paper when the folds are bulky, but cut cautiously and retest before removing more. A thin box needs different end handling from a deep cube. Choose tape that suits the paper and can be used without tearing the surface. Ribbon is optional and should not compensate for loose wrapping. If the box must be shipped, place the wrapped gift inside appropriate outer packaging rather than mailing loose decorative paper and ribbon as the transport layer.
A ready-to-adapt message
A practical tag can give the recipient's preferred name and a short note. If there is an opening aid, add a discreet 'start here' mark. Keep personal messages on a separate card if the paper may be recycled or discarded quickly. For an exchangeable gift, put the receipt in a small envelope that can be removed without exposing the personal note to a shop.
Catch the common failure points
Common mistakes are cutting before testing, pulling paper so tightly it tears at corners and taping every fold before checking alignment. Work from the main seam to one end at a time. If a flap is uneven, reopen the last step rather than covering it with more tape. Do not use a blade against the gift itself. Patterned paper can hide a crooked seam visually but does not solve excess bulk.
Build a fallback and finish the handoff
Check that the box sits flat and the tag is secure. Add a simple ribbon only if useful and appropriate, keeping loose lengths away from young children. Save usable offcuts for small tags or another project if you will genuinely use them. Store the remaining roll protected from crushing. A neat gift should still be comfortable to open; the purpose is a thoughtful presentation, not a puzzle made of tape.
Make an easy-open version
Before sealing the final seam, fold a small tape end back on itself to create a removable tab, or choose a suitable closure the recipient can open comfortably. Test the idea on the paper you use. Avoid creating an exposed sticky patch that catches fabric or damages the gift. An easy-opening choice can matter more than a perfectly invisible seam, particularly when dexterity or grip is a concern.
Your working checklist
Checkmarks stay in this browser when storage is available. They do not submit information or complete a purchase.
Put it into practice
- Protect the gift inside the box before decorating.
- Test paper width and end length around the actual box.
- Cut once the fit and pattern direction are clear.
- Close the long seam with a clean finished edge.
- Fold and secure one end at a time.
- Check the opening method and add a simple tag.
Before you finish
- Paper covers the box without excessive end bulk.
- Sharp preparation tools never cut against the gift.
- Exchange information remains separate and accessible.
- Wrapping is presentation rather than shipping protection.
Common questions
How much paper should I cut?
Test it around the actual box before cutting. Allow enough overlap for a secure seam and enough end length to cover the depth without multiple bulky layers. Different box proportions make one universal measurement rule unreliable.
Why are the ends bulky?
There may be too much paper or folds may not be pressed in order. Reopen the end, test the flap length and trim cautiously if needed. More tape usually makes the bulk harder to manage.
Do I need ribbon?
No. A clean fold and readable tag can be enough. Use ribbon only if it adds something you want and does not complicate opening or create an unsuitable loose piece around children.
Can I ship the wrapped box?
Use appropriate outer shipping packaging and the carrier's instructions. Decorative paper, ribbon and a gift box are not automatically suitable transport protection. Keep the address and label on the proper outer parcel.